Buying a pinhole camera

If you are looking into buying a pinhole camera, this post will share my experience with you. I have used a lot of cameras and built a lot of cameras. I’ve never found a perfect pinhole camera. They all have their quirks; they all can be a lot of fun.

I plan on updating this page over time and adding new info as I discover new things.

I offer a pinhole photography workshop that you can use and try out a lot of this equipment for yourself. When facilities open back up to hold an indoor workshop, I will put on a pinhole workshop where you make your own pinhole camera.

Pinhole Cameras

Pinhole photograph of the Blue Mosque in Istanbul, Turkey.
Pinhole photograph of the Blue Mosque in Istanbul taken with a RealitySoSubtle 6×6 with the top “rise’ pinhole shutter. This rise keeps the vertical lines of the columns parallel even when looking up at a building with such a wide-angle perspective. A unique feature of the RealitySoSubtle and some Ondu cameras.

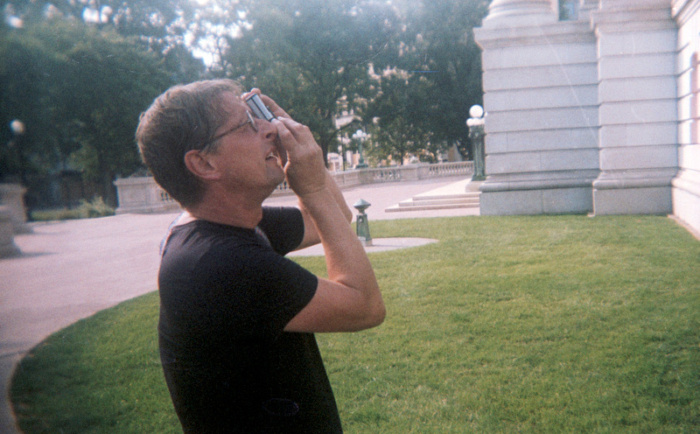
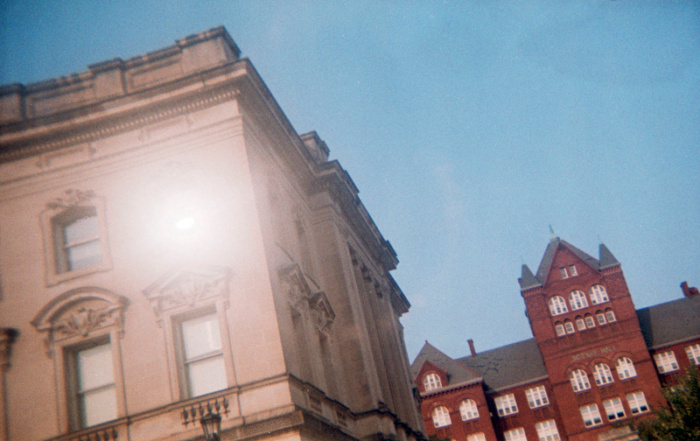
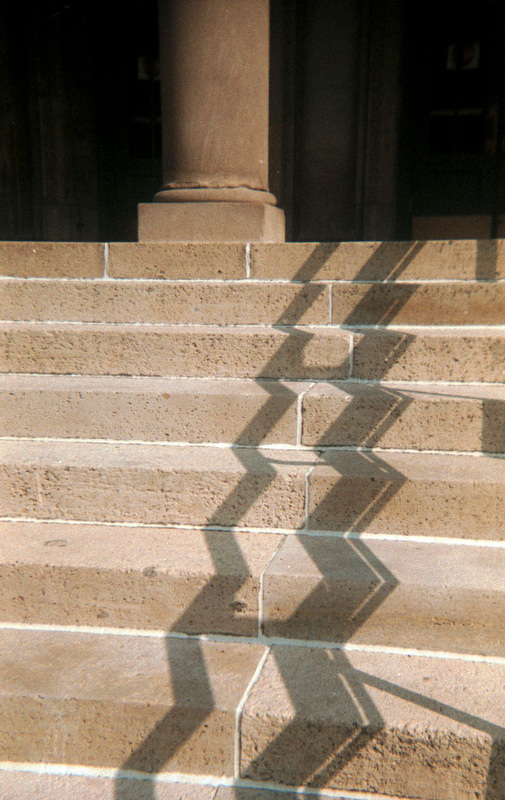
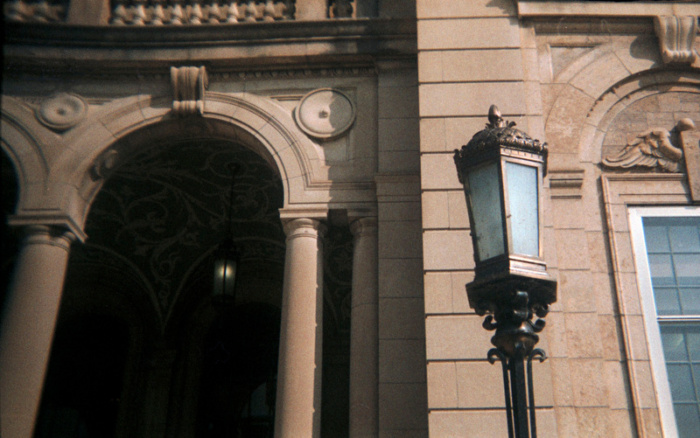
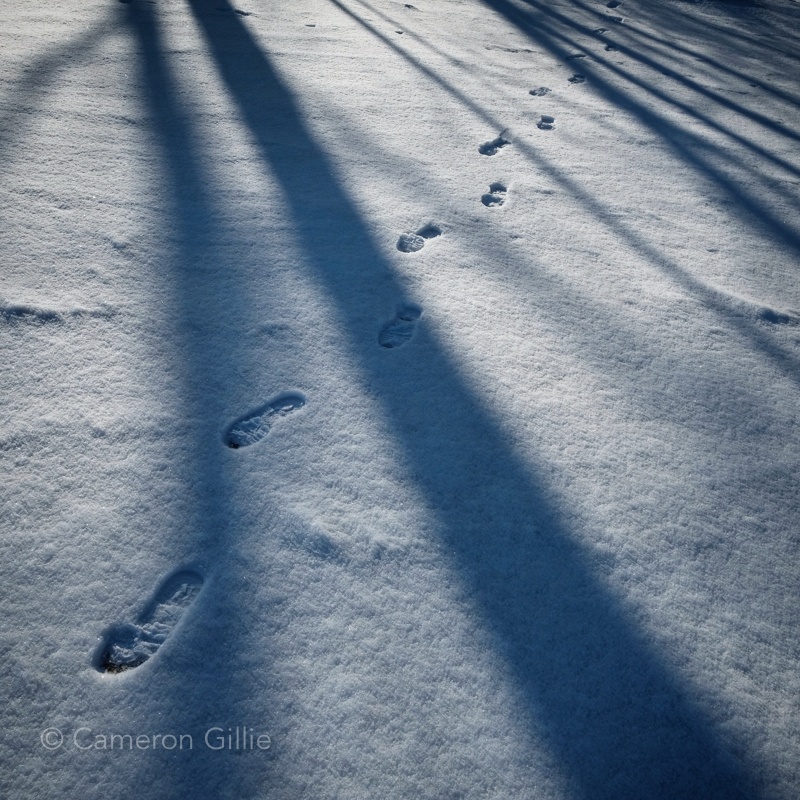
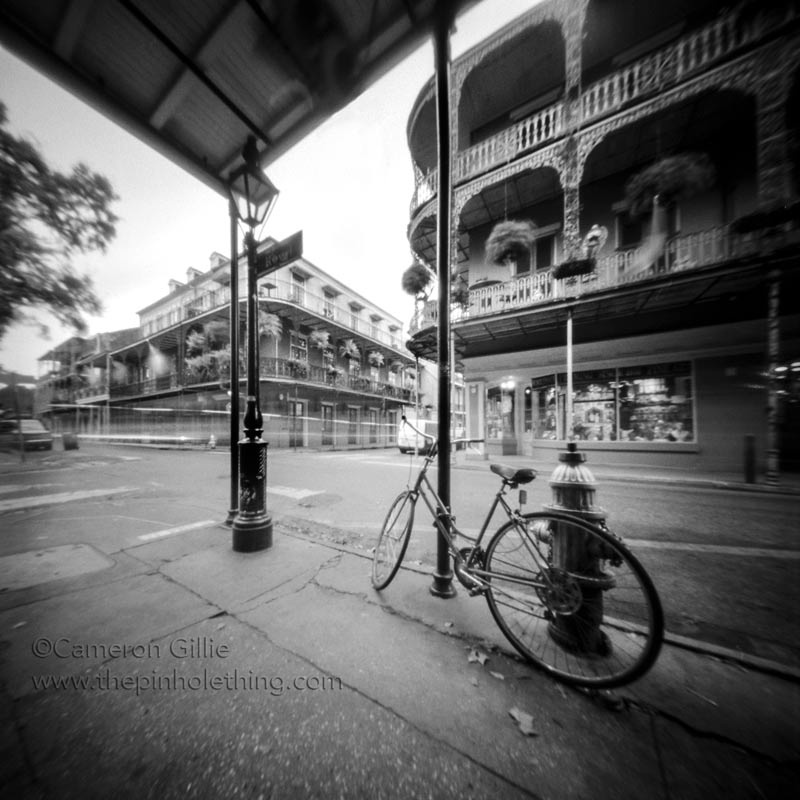
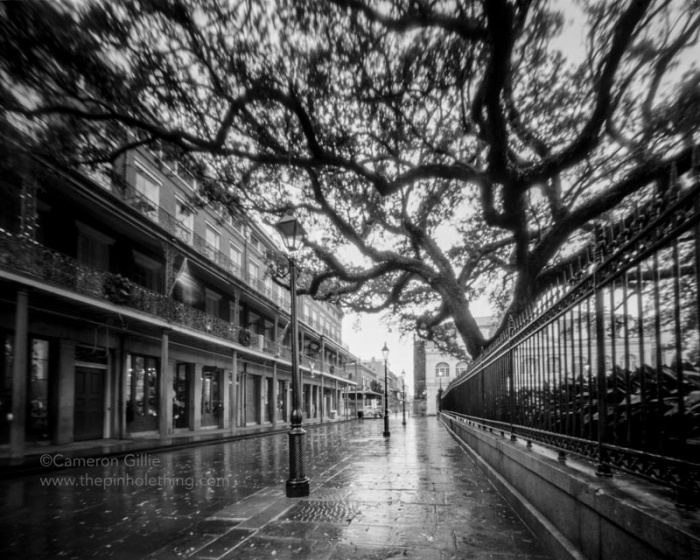
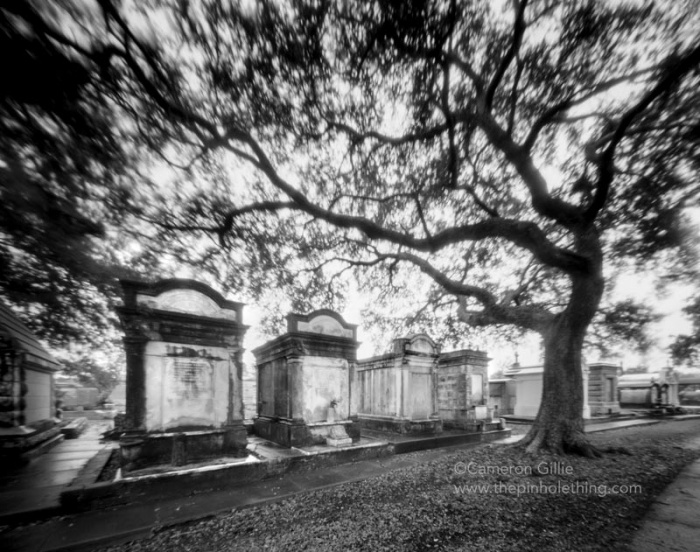
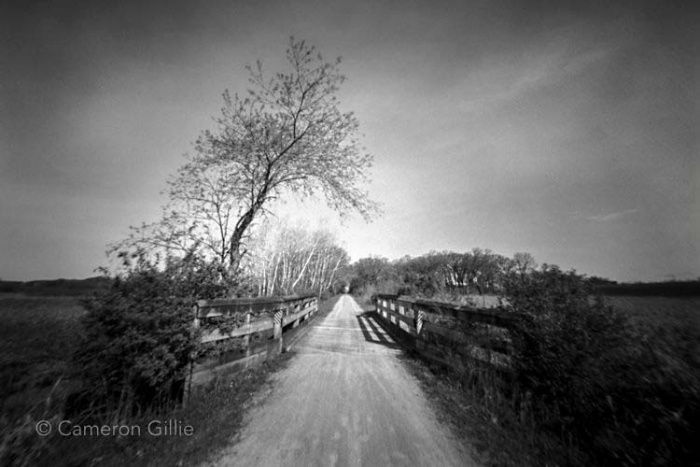
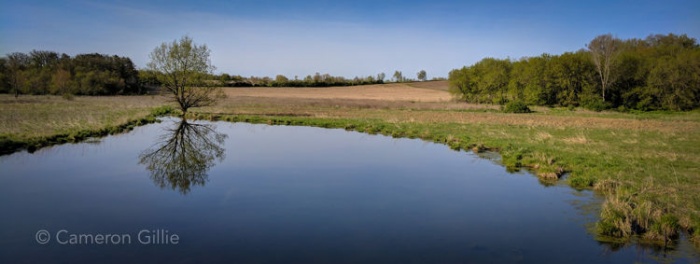
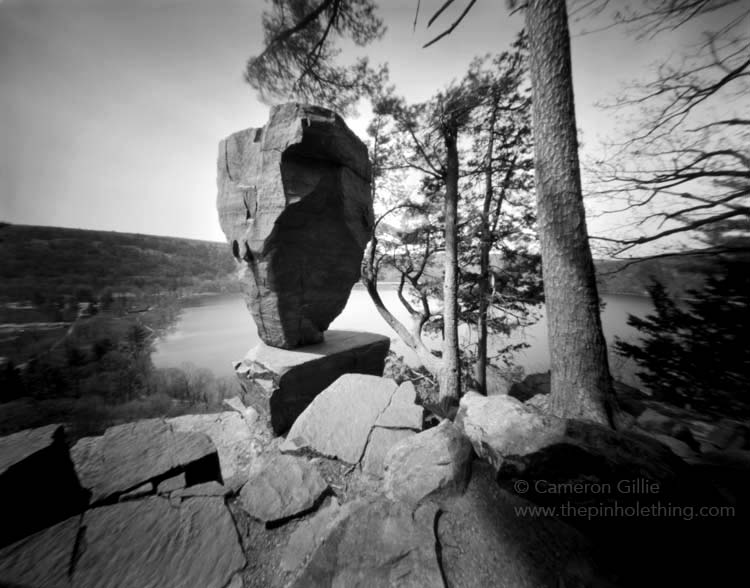
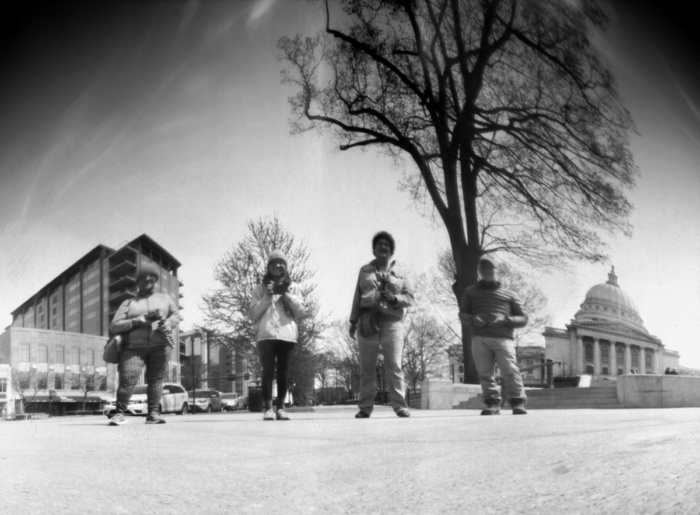
RealitySosubtle 6×6– Probably my favorite pinhole camera. I really love it. It’s super-wide-angle and has two pinholes you can choose from, one for a “rise” perspective and one normal perspective. A guy in France @realitysosubtle makes them. It’s solidly built and small. I’ve taken one backpacking, and I didn’t worry at all about damaging it. It’s so thin. You can always slide it in a camera bag with your other cameras. While putting this blog post together, I grabbed random pinhole photos I liked and realized that they are almost all taken with a RealitySoSubtle 6×6. I guess that is a pretty good endorsement of this camera. Its extreme wide-angle view is what makes it a great pinhole camera.

Lithuanian eBay seller tinastrutis– I really like this guy’s pinhole cameras. He’s an honest eBay seller and has some innovative and fun pinhole cameras he makes from old Agfa and Russian cameras. You have to be patient with shipping, especially now with COVID. It can take a month or more to receive packages from Eastern Europe. But they are a lot of fun and worth the wait. I highly recommend his cameras.

Buying wood pinhole cameras

Zero Image 2000– Certainly one of the prettiest and well-made pinhole cameras out there. It’s made of teak and brass. The only thing I don’t like about then is I wish it were more wide-angle. It’s pretty wide, but I like super-wide. Also, I wish they came with the angle of view inscribed on the body to help you compose. I painted my own angle of view lines on mine. I suggest getting the “back to nature” version of the camera. It’s not only cheaper because it’s not varnished. I think it’s actually nicer looking.

My Worldwide Pinhole Day of 2021 workshop class.

Ondu pinhole cameras– They are stunning-looking cameras. I had one, and I sold it, which I regret doing. They are held together with magnets, and the shutter is held in place by magnets which is pretty innovative. I remember the only negative thing about the camera I had was there was considerable camera shake opening and closing the shutter because it was sticky. But maybe that was just a flaw of the camera I had? I need to give them another try.

The Oakland Cemetery in Atlanta taken with a RealitySoSublte 6×6.

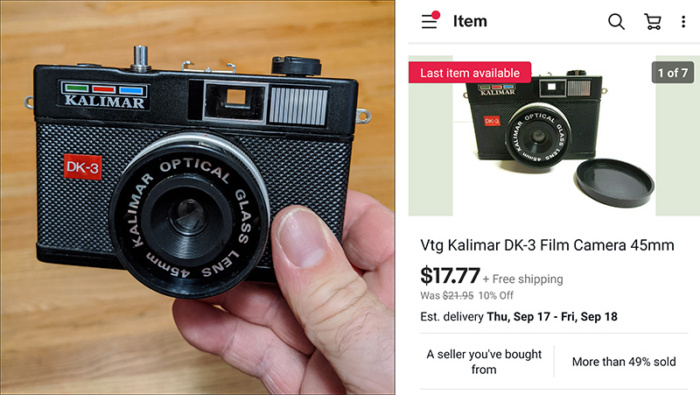
Buying pinhole plastic toy cameras

Holga pinhole- They are no longer made, so you will have to search eBay for one. Also, they don’t work very well without the Holga cable release attachment, which is no longer made. Because they are hard to find, the camera and cable release tend to be pretty expensive for a plastic camera. But if you are patient and watch eBay, you might find a reasonable one.

Holga wide Pinhole- Kind of a fun panoramic pinhole camera. Again, no longer made. This one comes with a built-in cable release. But I do love the panoramic look of these.

pinhole photograph of Yoros Castle in Istanbul, Turkey.
pinhole photograph of Yoros Castle in Istanbul, Turkey. taken with a RealitySosubtle 6×6

Lomography Diana F– The Diana is a legendary toy plastic camera that Lomography still makes. They are fun because they are a pinhole and a regular toy camera all in one. You can take the lens off mid-roll and shoot it as a pinhole. So it’s versatile. But it’s a plastic toy camera and therefore has all the quirks that come with that. Don’t buy an overpriced new one from the Lomography store. There are plenty of used ones on eBay for a fraction of the price. Make sure you get the newer Lomography Diana F+ model. The older vintage Diana cameras from the 1960s don’t have the pinhole option. Also, a 60-year-old plastic camera will rarely still work properly anymore. The new Lomography models all seem to function pretty well.

My “six-pack” of beer can pinhole cameras

Making your own cameras

Pinhole Billy in Door County is a friend and longtime pinhole photographer (as well as quite a character). He makes all of my pinhole apertures in my homemade cameras. They are top-notch stainless steel pinholes. You can email him, and he’ll take care of what you need. A good place to start is to order one of his “sets” of pinholes in different sizes.

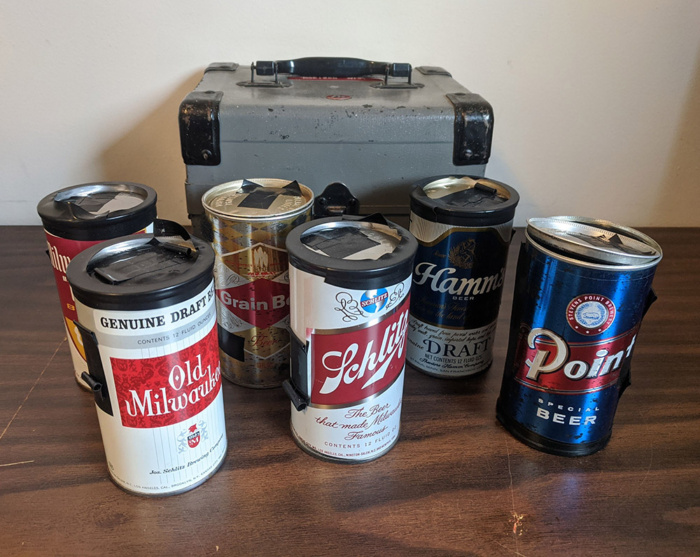
A clean edge can opener is good for converting an old beer can or any other can into a pinhole camera. It removes the top of the can without making any sharp edges. It just breaks the seal in the top of the can, so it’s easy to tape the top back on with a light-tight seal with black electrical tape time after time. A tip I can give you in choosing a can for making a pinhole camera. Get one with strong and straight sidewalls. Most modern soup cans have rippled sidewalls which make taping in the pinhole difficult with a light-tight seal. Modern beer and soda cans are way too flimsy, so vintage beer and soda cans work much better. You can find them in almost any antique store.

Accessories

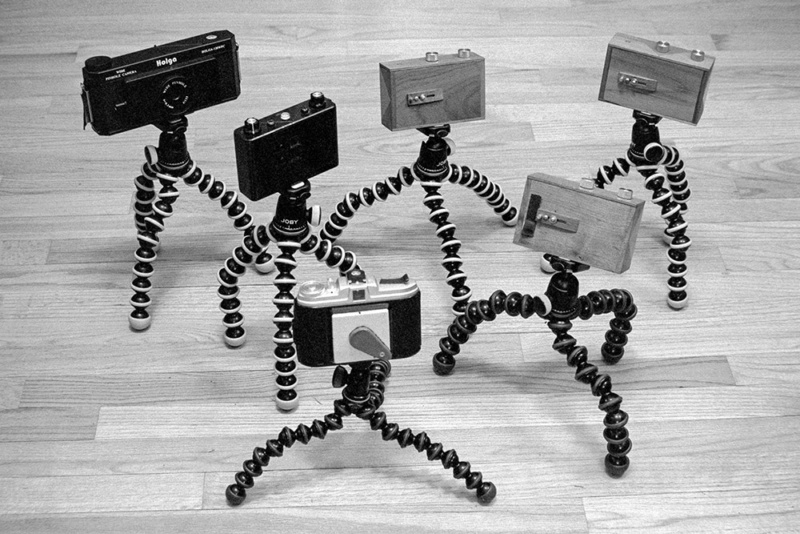
Joby Tripods are my favorite tripod for pinhole photography. They get you low to the ground for a good pinhole perspective and are easy to carry around and use. The Joby I supply my workshop students with is the 3K model.

A beer can pinhole taken with an Arista black and white paper negative.

Arista black and white photo paper is something I discovered recently. It’s great for homemade pinhole camera paper negatives. It’s sold by Freestyle Photo, which is also an awesome place to get all your film and chemistry. They have everything film-related you can imagine and then some. Multi-grade photo papers are much harder to work with, and you will get inconsistent results. Get the #2 graded resin-coated Arista paper. It makes good paper negatives and is much less expensive than large format sheet film I have been using in the past. I plan on using this paper and experimenting a lot more.

Negative Lab Pro is the Lightroom plugin that I use to scan negatives. It’s much faster than scanning with a flatbed Epson scanner, and I think it also has much better tonal qualities than an Epson. It’s an awesome and fast way to scan negatives—especially 35mm and 120 film. You photograph your negatives on a light table with a digital camera and then import them into Lightroom and let Negative Lab Pro do its magic.

Sign up for my email newsletter

The $20 film camera challenge

The $20 film camera challenge is something I came up with to dispel the myth that being creative requires the latest expensive modern digital camera gear.

twenty dollar camera challenge
My first $20 camera challenge camera was $17.77 on eBay with free shipping.

The challenge is to buy a film camera for less than $20 and post some photos you take with it on Instagram. As of writing this, I searched eBay for “film cameras” under $20 and there are around 16,000 listings. So you have a lot to choose from. You get extra points if the camera is extra funky. Maybe a yogi bear camera? A Velveeta cheese camera? It just has to be under $20. There are even some really great quality old mechanical cameras from the golden age of film photography for under $20 like the Pentax Spotmatic F, or the Minolta SRT. These are awesome, well built, fully mechanical cameras with great optics. Go wild and be creative with your camera and post it on Instagram with the hashtag #20dollarcamerachallenge. With each photo you post, tag and challenge someone else to go discover their $20 camera and create their own photo masterpieces.

fellow Madison film photographer John Zimm joined me for a walk around downtown with my 35mm Kalimar DK-3 point and shoot camera with Rollie Crossbird film for the 20 dollar camera challenge.

Tips on searching

Tips on finding a twenty-dollar camera. In searching on eBay use the search term “film camera” and you can select the price to be under $20. There are many “or best offer” listings that let you offer the seller your own price. Buying from a U.S. seller is a good idea unless you want to be patient. A package can take a month or more from some countries. But if you are willing to wait, there are some really interesting cameras in Russia and China for very little money. You can also search for things like “bakelite film camera” or “plastic film camera” to narrow things down. Or try your luck at garage sales, thrift stores, craigslist. It’s surprising how many old cameras are out there and most still work just fine. They all have their little quirks, but that adds to the experience and lots of character to your photos.

even brand new $35mm plastic cameras are under $20. Including the case!!! This is my next $20 challenge camera!

Tips on shooting

Here are a few shots from my first roll on the $20 camera challenge. It was interesting that by shooting with a point and shoot camera with very limited settings to worry about, I felt like I could just focus on being creative and not worrying about metering and all the details. It was a fun experiment.

35mm Kalimar DK-3 point and shoot camera with Rollie Crossbird film for the 20 dollar camera challenge.

A good idea is to pick a sunny day with good light. Most cheap cameras were made to have about a 1/100 of a second exposure at f11. Which is a good ballpark exposure for 100 ASA film on a nice day. On a cloudy day use 400 ASA and that should work pretty good with most cheap cameras. Don’t try to shoot indoors with most of these. It will be very underexposed.

Be creative and enjoy the limitations of the camera. A low quality or plastic lens can give you great flare and off colors. Embrace the funkiness of your camera. It may have light leaks and a fogged lens from its age. But that’s what the adventure of film photography is all about.

Film

It’s a good idea to buy a camera that the film is still being made and can be processed today. 35mm is a good choice for a beginner or 120 film is also widely available. If you’ve never shot film there are a ton of youtube videos on how to load film. You can “respool” 120 film onto 620 film reels. So a 620 camera works as well with a little more hassle. There are some places that cut film to fit on 127 spools so it is possible to shoot with a 127 camera but will cost more. There are adapters on using 35mm film in 120 cameras that are a fun way to expose the sprocket holes in your film as well. There is also the option of buying old expired film on eBay that isn’t made anymore and see what the results look like. There are a lot of creative options with old film cameras.

Go enjoy the $20 film challenge!

My Million Steps Photography Project

My Million Steps?

On a long cold walk in early January a random thought popped in my head for a photo project. I wasn’t even wanting to do any kind of “project” this year, this walk was just for exercise and I generally bring my camera on walks. I was trying out an app on my phone counting my steps to keep track of how far I walked.

Somehow out on Picnic Point, it just popped into my head- Walk a million steps this year and put together a collection of the photos you come across on your travels. Standing in the sub-zero windchill I did a couple google searches on my phone with exposed finders. I calculated that it would add up a total of around 500 miles. I would have to make two about 5 miles walks per week all year to reach a million steps. I’ve never had a photo project come totally out of the blue in just a few minutes. It was just such a good idea I just had to do it! So I started right there with photographing my footsteps on frozen Lake Mendota…

photos from around madison for my million steps photography project
Photos from “My Million Steps” project.

This isn’t going to be just me carrying my camera all the time as I walk though the days of the year. The object is to make each walk an active search for photographs. So I can’t just bring my camera with me to the grocery store and count my steps shopping. Each walk I have to be looking for photographs and post at least one to Instagram.

The photos will be diverse and the walks will be diverse. Everything from urban walks around Madison and nature walks on the Ice Age Trail to walking the Grand Bazaar in Istanbul. The photos will be largely digital but I will throw in some film photos with my Holga and my pinhole cameras. Each walk I have to find at least one photo worthy of posting. Some days will hopefully yield good photos, others I’m sure won’t be so spectacular. That’s the challenge I guess.

At the very least, I’m going to try not to embarrass myself with the posts! If you don’t follow me on Instagram my account is called Around Madtown.

Pheasant Branch Conservancy photographed for my million steps project.
Pheasant Branch Conservancy from “My Million Steps” project.

My Million Steps is similar to a project I did a few years ago I called “Around Madtown” where I biked to State Street in Madison once a week for a year. The challenge was to find something new in each trip to the same street. It was a great exercise in seeing new things in a familiar place. With My Million Steps I am going to travel this year to Arizona and Istanbul to name a few places, there will be a lot of different scenery. Many of the walks will of course be closer to home here in Madison and around Wisconsin.

The forward statue in the Wisconsin Historical Society
I photographed the original “Forward Statue” in the Wisconsin Historical Society building while on a quick warming break on a cold January walk.

Just as we all need to exercise our bodies I think photographers need to exercise our vision. I think it’s important to take photos on a regular basis outside of our “everday work photography” just for the sake of taking photos. Like going to a gym and sweating for no particular reason is important to stay keep in shape.

Not to mention walks are great for your mental health as well! My Million Steps is going to be good for my creative health, my physical health and my mental health. I’m looking forward to the walks and to the images I find.

To see the entire project so far and to follow the progress go to the hashtag #mymillionsteps on Instagram. 

A woman looks at a painting in the Milwaukee art Museum
The Milwaukee Art Museum from “My Million Steps” project.

More photos from my million steps project
Photos from “My Million Steps” project.

New Orleans Pinhole Photography

pinhole photo of a bike in new orleans

The history and charm of New Orleans makes for awesome photography. So when I saw a cheap airfare I jumped at the chance to go back to the city I used to do a lot of wedding photography in. So I returned in December to photograph the city again. This time with a my pinhole cameras. The weather was awful, which I guess why plane tickets are cheap that time of year, but I did my best. It just means I have to go back again one of these days to try again!

It was raining and in the 40’s almost the entire time I was in New Orleans and it was dark. This made for long exposures standing in the rain getting chilled to the bone. It was worth it though. It’s an amazing place to photograph.

pinhole photograph of jackson square in new Orleans.
Jackson Square pinhole in the heart of New Orleans.

If it’s raining, use the rain to your advantage as much as you can. The wet streets gave it a nice element.

a pinhole photo of the saint louis cathedral in new orleans
A pinhole photograph of St. Louis Cathedral on Jackson Square in New Orleans.

Pinhole of the Metairie Cemetery in new orleans
I think the best pinhole photograph of the trip was from the Metairie Cemetery in New Orleans.

I think the best photo was from the Metairie Cemetery. These above ground tombs are just perfect for pinholes. I hear people describe my pinhole photography as “creepy” quite a bit. I’m sure I’ll hear that about this one!

Biking on the Military Ridge Trail

military Ridge state trai

Military Ridge State Trail

Biking the Military Ridge State Trail between Mount Horeb and Verona is an outdoors treat just a few miles from the west side of Madison. It’s become my favorite morning bike route. When I have the extra time I put the bike on the roof of the car I drive the short distance to take advantage of this peaceful ride. It takes you through the woods and the marshland that make up the headwaters of the Sugar River. It doesn’t follow any roads either so you escape traffic and it’s noise.

The Military Ridge State Trail is on an old railroad bed so it’s a flat easy enjoyable ride. It’s also fairly grown up along the trail providing lots of shade and protection from any wind.

The sugar river along the Military Ridge State Trail
The sugar River along the Military Ridge bike trail.

The best way to experience the trail is to park in Riley, halfway between Mount Horeb and Verona. There’s a large parking lot right next to the trail and you can then choose to ride 6.5 miles into Mount Horeb or 6 miles into Verona for about a 12 mile round trip.

Both directions are equally scenic. Going into Mount Horeb is up a gradual hill and more wooded. Biking to Verona is flatter and more open marshland along the way. So from one parking lot you have the choice of two varied trips.

Of course there is no such thing as a free lunch, these trails cost money to build and maintain. A permit to ride on them is only $25 a year (or $5 a day). That’s a bargain for use of all the state trails in Wisconsin for a year. There is a self pay station in the parking lot in Riley, or you can buy them at the Grumpy Troll or Miller and Son’s Grocery store in Verona.

A bridge on the Military Ridge State Trail.
Pinhole photograph of the Military Ridge bike trail taken just below the Epic campus in Verona.

This is also only a portion of the Military Ridge Trail. It goes from Madison all the way to Governor Dodge State Park. I’ve ridden from Verona east into Madison and in my opinion it’s not as pretty as the Mount Horeb to Verona section. But it was cool to ride all the way into the Capitol building from Mount Horeb with only the last 4 blocks riding on a street.

In the near future I want to ride from Mount Horeb to Governor Dodge State Park. I’ll update the blog when I do.

The Military Ridge Trail
The marsh which is the headwaters of the Sugar River along the Military Ridge bike trail.

*After the Ride*

Coffee

I often go in the morning and stop for coffee and a scone in Schubert’s Restaurant in Mount Horeb or Tuvalu Coffee House if I head to Verona. Both have lots of character and charm.

schuberts restauraunt in Mount Horeb and Tuvalu Coffee House in Verona
Schubert’s Restaurant on the left and Tuvalu Coffee House on the right are both great destinations for your morning coffee or lunch.

Beers

For an afternoon trip there is great beer to top off your ride on booth ends of the trail as well. The Grumpy Troll in Mount Horeb and the Hop Haus in Verona are both excellent brew pubs.

Devil’s Lake Day Hike – Ice Age Trail

A pinhole photograph of Balanced Rock on a Devil’s Lake hike.

East Bluff in Devil’s Lake State Park near Baraboo has to be one of the most popular and well traveled portions of the Ice Age Trail. Early Spring is the best time to visit to avoid the crowds of summer. I also tried a unique way of experiencing this popular spot by taking a less traveled route to get there.

A lesser traveled Devil’s Lake hike

My friend and fellow nature photographer Mike Murray and I recently did a 4.5 mile hike on the Ice Age Trail in Devil’s Lake State Park. We started in Roznos Meadow parking lot on the very eastern edge of Devil’s Lake after parking our car at our destination, the South Shore parking lot. I rode my bike back to our starting point, the Roznos Meadow lot via South Lake Road. It’s a pretty easy 3 mile ride that is mostly downhill. Only the first quarter mile is an uphill climb. South Lake Road was pretty quiet traffic and there is only a short stretch on 113 so traffic was minimal.

The 4.5 mile route of the Ice Age Trail with a bike shuttle on South Lake Road.

From the Roznos Meadow trailhead, the Ice Age Trail crosses the prairie with a nice view of the surrounding bluffs and starts up the East bluff from the far East side. On the other side of the Meadow it’s a nice meandering uphill trail through the woods getting you to the top of the bluff gradually. It’s a steady two mile uphill rather than the brutal hike up the rocky 500 foot vertical bluff most people take to the top from the South Lake Parking area.

A photographer takes in the view from the Devil’s Doorway rock formation on top of the East Bluff Trail.

This longer route makes for a more compete hike that gets you to the top in a more relaxed, less crowded enjoyable hike. There is even some solitude in the meadow and woods leading up to the top of the bluff. From the top of the bluff you descend the steep and rocky trail to the South Lake area instead of trudging up it like most people do. Don’t forget to stop and see the Balanced Rock on the way down. It’s about halfway down the trail to the lake. (see the top pinhole photograph)

taking in a relaxing view of Devil’s Lake.

*After The Hike*

Lunch- The Little Village Cafe is just that, a small town diner in Baraboo that probably hasn’t changed much in decades. I always look for an excuse to stop for lunch when I’m in the area. It’s located right on the downtown Square.

Explore Baraboo- Baraboo is one of my favorite small towns in Wisconsin. If you still have the energy after the hike explore some of the great antique shops or get a tour of the historic the Al Ringling Theatre. The antique shops and theatre are all within a few blocks of the Little Village Cafe.